Looking for some simple beauty hacks? We all like a good beauty hack every now and then to make our lives just a little bit easier, especially for those who feel they have a hard time with regular beauty activities as it is, or those who just simply don't have the time to spend worrying about the perfect eyeliner or eyelashes or skincare. But in the hopes of helping those who feel they need it, here's a list of simple beauty hacks that myself and others have found to be very helpful.
Snapshot Survey
Thanks for sharing your thoughts!
Please subscribe for your personalized newsletter:
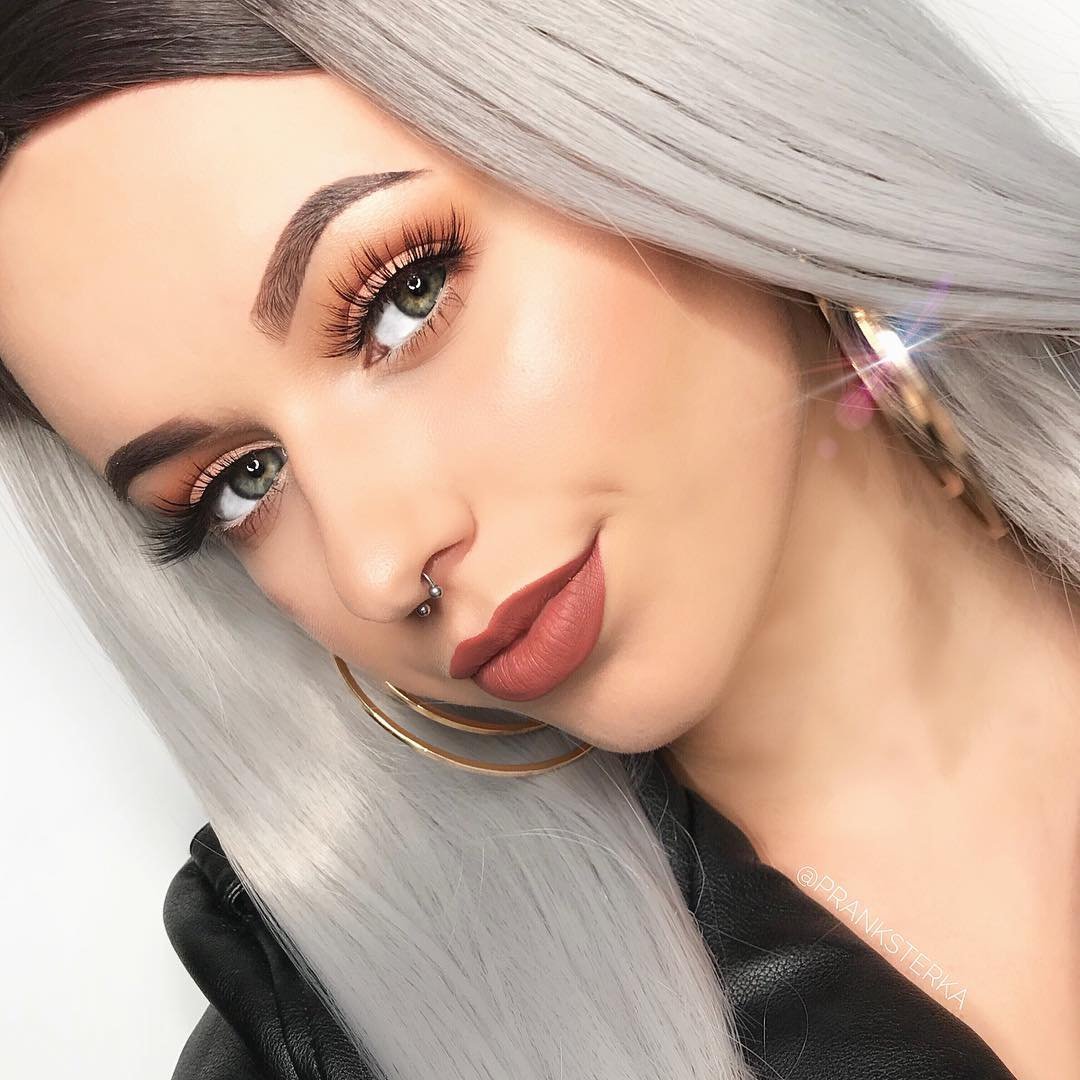
At Home Eyelash Extensions
Eyelash extensions are one of my favorite simple beauty hacks. I myself, a makeup artist and certified cosmetologist, have tried this beauty hack and it worked wonderfully! The materials you need will be listed below, followed by a few helpful instructions and a link to a helpful YouTube video (that I do not own the rights to).
You'll need:
•Any kind of permanent lash glue you prefer. I prefer the Ardell Lashtite Clear Adhesive, which you can find at a local Walmart or beauty supply store.
•Either individual lashes, or lash Clusters. This depends on the time you wish to spend doing your extensions, if you don't wish to spend too much time on them, I'd recommend the clusters, which I've found work just as well as the individuals. Individuals will look a little more natural but will take a little more time because they are singular strands.
•A good pair of tweezers. I've found that a pair with pointed tips make for the best application, but any you feel comfortable having in close contact with your eyes will work.
•Time and patience. Remember, you can't rush through this process, it will take a bit of time, but as long as you're patient and understanding of the process, you'll do just fine.
Now comes the fun part, the actual process. You'll need to start with freshly clean eyelids and lashes, which you can clean with any makeup remover you prefer. Now you can begin applying your lashes. Pour some of the glue onto a flat surface you don't mind throwing away. You want to be very careful not to dip the lash into too much glue. After you've dipped your lash in the glue, wait for it to get tacky and after about 20 seconds of waiting, apply the lash right in with your own lashes. Go about this process, applying longer lashes on the outer corner of your eye, getting smaller as you make your way to the inner corner. Remember, the more lashes you apply, the thicker and fuller they will appear.
When you're finished doing your at home extensions, you'll need to take a few precautions over the next few weeks. Be careful not to rub lashes too hard when removing makeup, or they may come off or irritate your eyes. Attempt not to use mascara, because when removing the mascara you may damage the false lashes. All in all, just be as careful as possible and if you need to remove the lashes, use the proper false lash removal.
I, and many others, find this method to be much cheaper than going out and getting expensive lash extensions. It's an easy beauty method you can do at home and it can make you feel effortlessly beautiful to wake up in the morning with beautiful, bold lashes that you did yourself!
(With my personal experience doing my own eyelash extensions, I needed a little visual guidance and I know others may need it too! I'm attaching this video for those who need it, I do not have any affiliation with this YouTuber and I do not own the rights to this video, I just found her guidance helpful!)
/filters:quality(70)/thumbs/85/cybu84j1ynj1s10hvffnzx_1080_1350.jpg)
Simple Daily Skincare for Dry Skin
I have dry skin and know it can be difficult to know how to care for it. Like most people, my skin changes with seasons. In the winter it can be very dry, and in the summer it can be very oily. This method has worked for me through all seasons to keep my skin smooth, hydrated, and flawless! I use an exfoliant, an acne face wash, and an electric face cleaning brush.
Any of these items can be purchased at a local drug store, beauty supply, or shopping center. I usually shower first and after my skin has been cleaned and I'm finished in the shower, I apply a small drop of the acne face wash onto my electric brush and begin applying it to my face, following the directions the brush goes in. After my entire face has been covered, I rinse with warm was to open up pores.
I then put a small portion of the exfoliant in my hand and begin scrubbing my face with it, you can either use your fingers or you can also buy a face scrubber, either one works just fine! When I'm done using the exfoliant, I rinse my face with cold water to close my pores. Then you're done! I've recommended this method to many past clients and have gotten wonderful feedback and I can only hope it works well for others!
/filters:quality(70)/thumbs/56/ld6nvbsv9efyt5ljvf1yvh_1080x1350.jpg)
Primer, Foundation, and Powder
Being a former beauty advisor, I came to notice many women had a hard time applying their base products or just didn't know what order to apply them in. This is my own personal method that I use on myself and have used on clients I've done makeup for, and I've found it works quite fantastically!
Typically, I apply a primer all over my face first, one that matches my skin type. My skin gets red and dry, so I use a redness canceling, hydrating primer by Kleancolor. You'll want to make sure you find one that fits your skin or your foundation will have trouble staying on.
You can then apply your foundation, using a Kabuki brush or a beauty blender. I use a Kabuki brush made by AOA studio that you can purchase at ShopMissA.com or the real techniques beauty blender that they sell at most local drug stores or beauty supply. You also want to make sure that your foundation fits your skin type and the coverage you want.
Someone like me, who has freckles and doesn't want to cover them, would probably prefer a light to medium coverage foundation. A light coverage foundation gives a little glow and a small amount of pigment payoff, where a medium coverage gives a heavier coverage but still doesn't fully cover any beauty marks you wish to be seen, and a full coverage will fully cover any beauty mark, spot, or blemish.
Try to spread with even coverage all over the face, making sure to get all creases and crevices. Usually, if a Kabuki brush is used to apply foundation, you'll want to use the beauty blender to blend out any streaks.
Typically, most women use concealer to cover any spots or blemishes that they feel need a little extra coverage. I personally don't always use concealer but if you feel the need to, then by all means! In the past, I have used colored concealers on clients to cover specific areas. Red spots can be covered with a green concealer, dull and dark spots can be covered with either purple or yellow concealer. Or if you prefer to just use a neutral colored concealer, I would suggest choosing one that will blend well with your foundation.
After my foundation is applied, I then use a translucent powder to be sure that my makeup us smooth and will stay on throughout the day. I, and many other beauty gurus, recommend the Airspun Translucent powder for maximum coverage. A translucent powder will not add any extra color or pigment, but will only smooth out your foundation and help to decrease the look of oils that foundation may leave throughout the day. This will help your skin appear less oily as the day wears into your makeup. A good blotting paper doesn't hurt either! A blotting paper removes oils from your face and leaves a clean finish!
After doing these steps, I apply the rest of my makeup and when finished, spray with a setting spray. I personally prefer either the M.A.C setting spray or the ULTABEAUTY setting spray to help my makeup last and give it a flawless finish. By no means do you have to apply your makeup this way! This is my own personal way of applying it and I can only hope it helps other women, or whoever chooses to use this method, feel a little more confident in their makeup routine.
Beauty hacks and tips are a small factor that help women and men feel a little more confident because it helps to make things just a little easier! I hope you enjoyed the few beauty hacks that I, and others, find very helpful in our makeup routines, and I hope they work just as well for you as they do for me! I know it can be a bit challenging to figure out every detail within the makeup world to get a flawless finished makeup application and skin care routine, which is why I am so grateful to get to share my methods with others!
